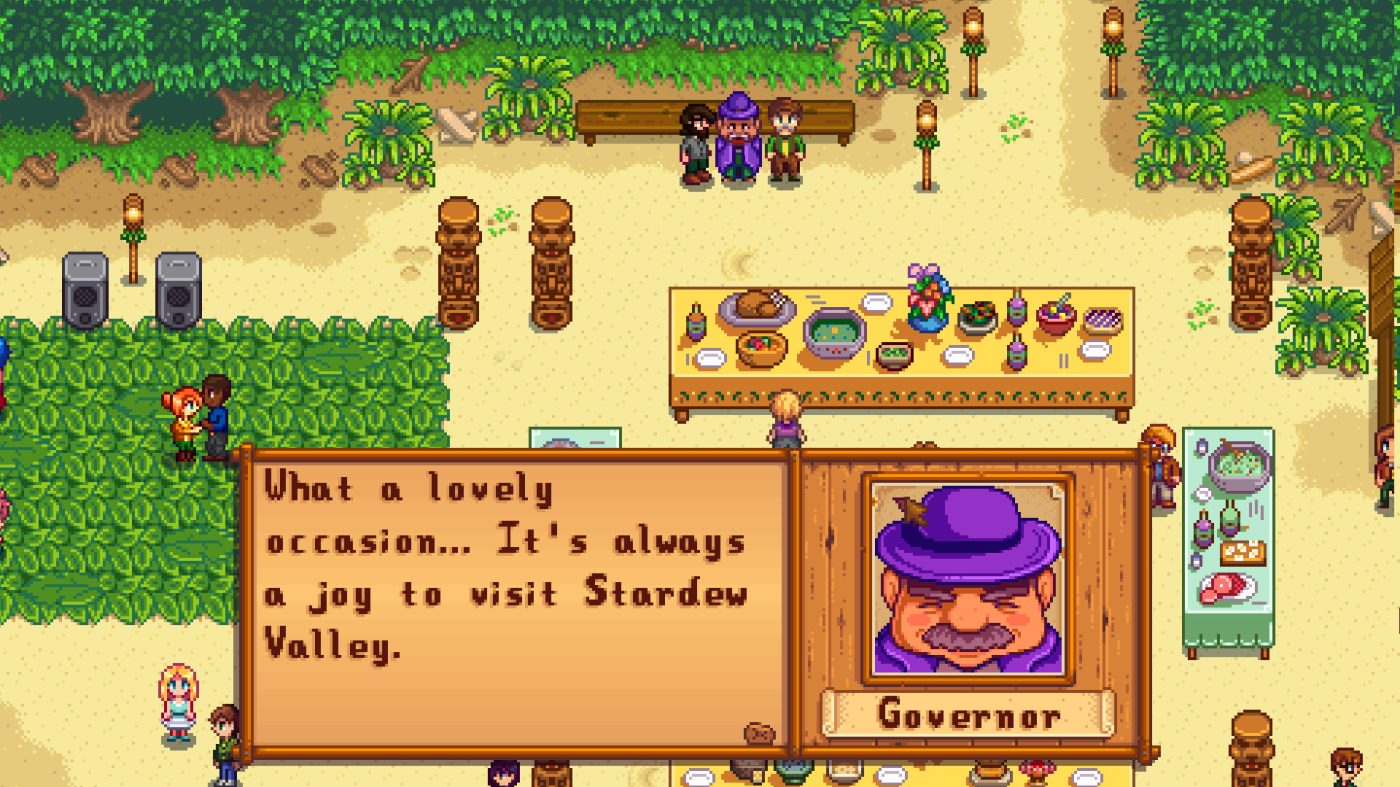
The Community Center is the only piece of Stardew Valley that asks you to plan a whole year in advance. Six rooms, each made of bundles, and every bundle asks you to hand over items you may have already sold. The order you finish them in matters more than the speed, because two of the rooms change what the rest of your farm can do.
The six rooms, and what each one hands back#
- Pantry — the spring, summer, fall and winter crop bundles plus quality crops and animal produce. Finishing it restores the Greenhouse, which is the single biggest change of the six.
- Crafts Room — four seasonal foraging bundles, construction, and exotic foraging. Finishing it repairs the bridge and opens the Quarry.
- Fish Tank — river, lake, ocean, night, crab pot and specialty fish. Finishing it removes the Glittering Boulder, which opens the river above the mine to panning.
- Boiler Room — blacksmith, geologist and adventurer bundles. Finishing it repairs the minecarts, which is fast travel you will use every day afterwards.
- Vault — four pure money bundles. Finishing it repairs the bus, which is the only route to the Calico Desert.
- Bulletin Board — cooking, dye, field research, fodder and enchanter’s bundles. Finishing it applies a friendship bonus across the valley.
Every individual bundle also pays out on its own — Speed-Gro, a Bee House, a Preserves Jar, a Cheese Press, a Charcoal Kiln, a Furnace, Crab Pots, seasonal seed packets and so on. Those small rewards are why finishing a bundle early is usually worth more than saving the items up for a tidier plan.
Why the Pantry goes first#
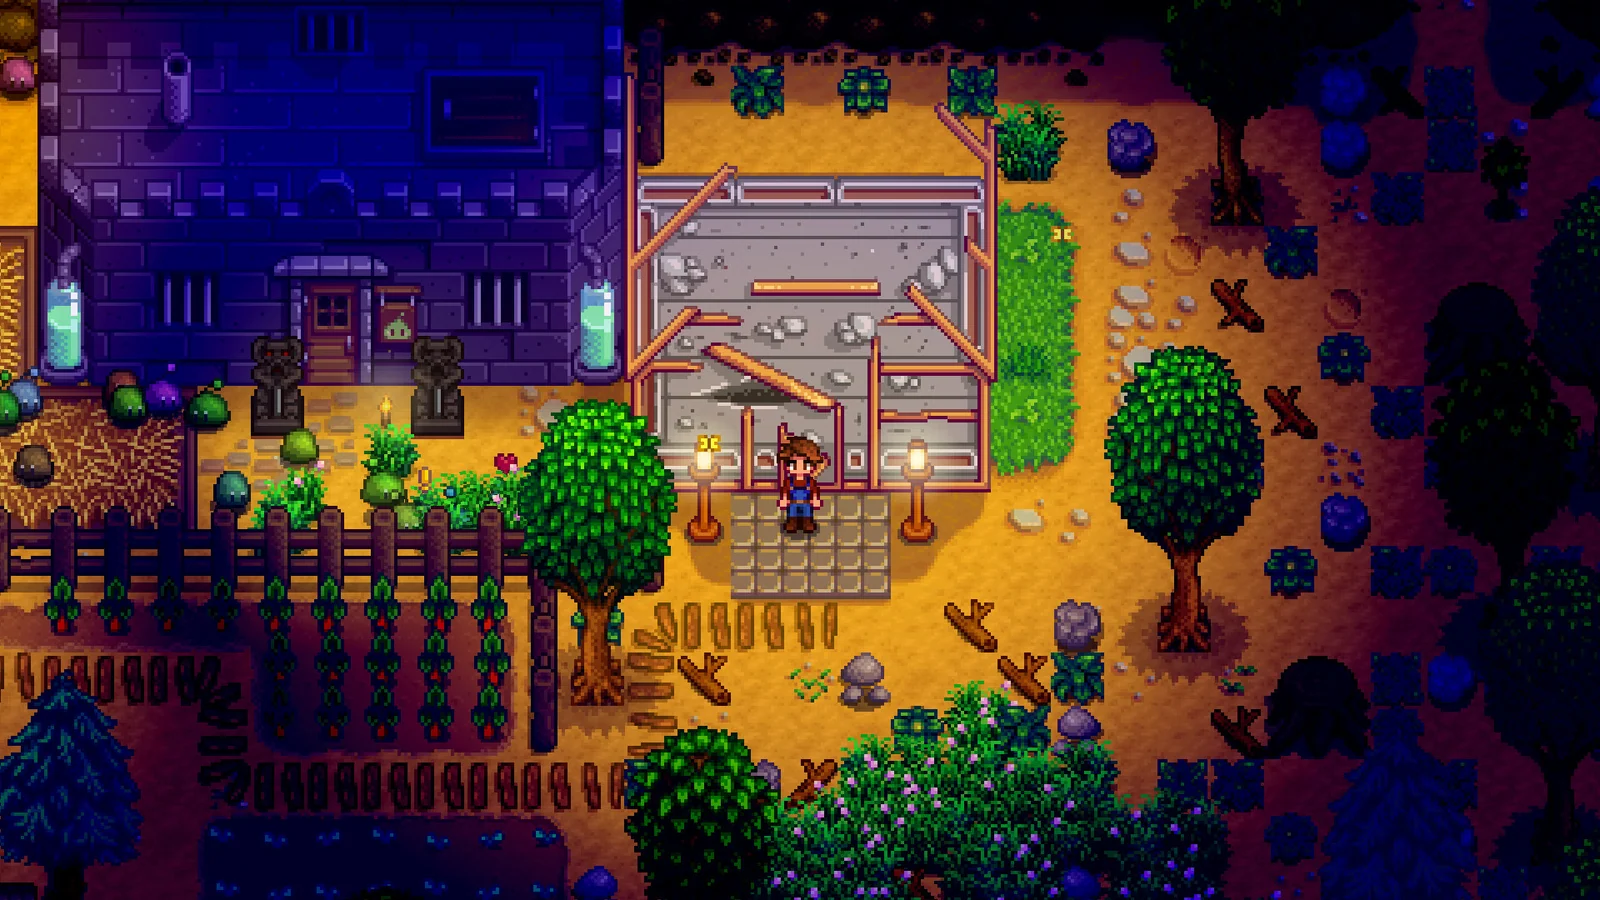
The Greenhouse is the only reward that makes every later bundle easier. It removes the season from farming: crops, fruit trees and trees grow year-round inside it. That means the crops you need for later bundles are no longer gated behind a calendar, and the money you need for the Vault stops being seasonal.
There is a second reason. The Pantry is the room most likely to be completed by accident in year one, because the spring and summer crop bundles are made of things you were going to plant anyway. Push slightly harder on it — hold back one of each crop instead of selling the last one — and it closes early without extra work.
The animal bundle is the part of the Pantry that cannot be rushed. Large Milk and Large Eggs are not bought, they are produced by animals with enough hearts, which means a barn, a coop, and weeks of daily petting before the items appear at all. Start the animals early even if the rest of the room is far from done.
Where runs actually stall#
Three places, in order of how often they stop a playthrough. Animal produce, because it is gated by animal friendship rather than by money or skill. Quality crops, because gold-quality harvests depend on fertiliser and a bit of luck, so they reward planting more of a crop than the bundle strictly needs. And the last fish of the Fish Tank, which is usually a weather or time-of-day condition you have to wait for rather than something you can grind out in an evening.
Recognising which of the three is blocking you tells you what to do with the next in-game day. If it is animal produce, go pet the animals. If it is quality crops, plant another row and use fertiliser. If it is the fish, check the weather forecast and plan the trip.
If you are still deciding what to plant for those first two bundles, the seasonal crop guide covers what each season asks for.
The room that looks cheap and is not the Vault#
Four bundles, no items, only gold: 2,500, then 5,000, then 10,000, then 25,000. That is 42,500g in total, and it is the only room whose cost you can measure exactly before you start.
It is also the room that stalls runs, because the money competes with everything else: tool upgrades, barns, the house upgrade, seeds. The practical rule is to treat the Vault as a fixed target rather than an impulse — decide which season you will clear it, then stop spending on luxuries in the month before.
The early income routes that pay for the Vault fastest are in the money-making guide.
The gates you cannot walk back through#
Most bundle failures are not skill failures, they are calendar failures. Four bundles are locked to seasons: spring, summer, fall and winter crops, and four more are locked to seasonal foraging. Miss the window and the item is gone until next year, unless the Traveling Cart happens to stock it.
Two habits remove almost all of that risk. First, plant one of everything you need as soon as the season opens, in a small dedicated patch, and do not sell the harvest. Second, keep a single chest next to the Community Center door as the drop-off chest — every bundle item goes there and nowhere else, so nothing gets sold by accident while you are clearing inventory.
The Traveling Cart is the release valve#
The cart appears in the forest south of the farm on Fridays and Sundays, and its stock is random. It regularly carries seasonal crops, forage and fish out of season, which makes it the one way to repair a missed window without waiting a year.
The catch is price and unpredictability: you cannot plan around a specific item appearing, so the cart works as a safety net rather than a strategy. Check it every Friday and Sunday if a seasonal bundle is still open, and buy the item the moment you see it, even if the price stings.
Locations, times and weather conditions for the harder fish are in the fishing guide.
Bulletin Board is the long one, and that is fine#
The Bulletin Board asks for cooked dishes, dyed cloth, artisan goods and items that come from systems you may not have touched yet. It is the room most players finish last, and the reward — a friendship boost applied when you read the letter — is a convenience rather than a unlock.
The tactical consequence is that the Bulletin Board should absorb the leftovers of everything else. Cook one extra of each dish you make anyway, keep a spare of every artisan good, and the room closes on its own without a dedicated farming session.
An order that works#
- Spring of year one: plant for the spring crops bundle, start the drop-off chest, and check the cart weekly.
- First mine run: the Boiler Room’s geologist and adventurer bundles fill themselves from ore and monster drops. Repair the minecarts as soon as you can — every later trip gets shorter.
- Foraging days: the Crafts Room bundles are the cheapest to finish, because they are made of things you walk past. The Quarry bridge is a small reward, but the room is nearly free.
- Fishing evenings: the Fish Tank fills in parallel with everything else, since you are already fishing. The night fish are the only ones that need a deliberate trip.
- Whenever the cash exists: clear the Vault in one month rather than dribbling it out, so the bus unlocks in time to be useful.
- Everything else: Bulletin Board last, absorbing leftovers.
Quick answers#
- Does the order matter? Yes — the Greenhouse from the Pantry removes the seasonal gate that makes every other crop bundle hard.
- How much does the Vault cost? 42,500g in total across four bundles.
- What if I missed a seasonal crop? The Traveling Cart on Fridays and Sundays is the only way to fix it before next year.
Sources: the bundle and reward structure as documented on the Stardew Valley Wiki’s Bundles page, checked against the in-game Community Center screens. Per-slot item counts are deliberately not reproduced here because they are easier — and safer — to read from the bundle screen itself than from a blog post.

3 comments