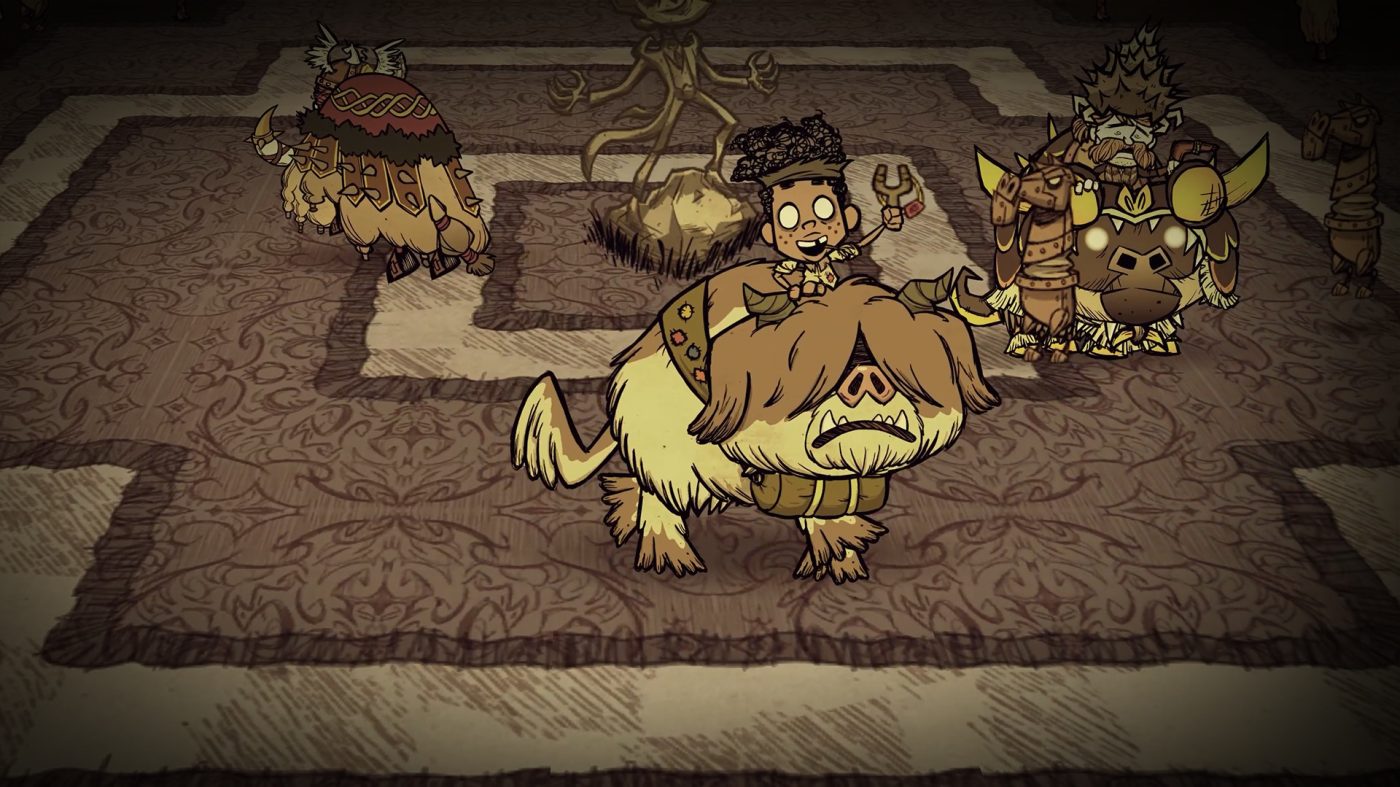
Taming a beefalo is the most rewarding project in Don’t Starve Together and the easiest one to lose. It takes fifteen to twenty in-game days, it decays while you are away, and one badly-timed attack resets a week of work.
What makes it manageable is that the whole system is four numbers. Once you know what each one does, taming stops being a mysterious ritual and becomes a schedule.
The four attributes#
- Domestication — overall progress toward a fully tamed animal. Separate from everything else.
- Obedience — whether it will accept a saddle, let you mount, and how long it tolerates being ridden.
- Hunger and health — the fuel for domestication, and the resource you will spend the most on.
- Tendency — which of the four temperaments gets locked in when you finish.
Domestication: the fifteen-day clock#
The base rate is fixed. A beefalo gains 1/960 of domestication every 10 seconds — about 5% per day — while it is being ridden or while its hunger is above zero.
That is why the range is 15–20 days: with a brush you finish in about 15, without one about 20.
Brushing adds a bonus once a day: +1/60 (1.67%), which brings the ceiling to about 6.67% per day. Brushing more than once a day does nothing except waste brush durability.
Two things stop progress, and both are worth planning around:
- Zero hunger. At zero hunger and not being ridden, domestication decays — slowly at first, then faster, reaching 2.5% per day after ten days of neglect. Total loss takes about 45 days.
- Salt Lick. Parking the animal at a Salt Lick stops the decay entirely. It does not add progress, but it means you can log off, sleep, or go do something else without losing the work.
At 100% domestication the beefalo visibly changes appearance and stops losing hunger — but it is not finished. You must feed it one more time to lock the tendency in.
Obedience: the number that gets you killed#
Obedience is a ten-step scale running 1–100, and the thresholds are hard gates:
- Below 10% — cannot be saddled at all
- Below 40% — will shake the saddle off, damaging it
- Below 50% — refuses to be mounted
It goes up fast: +40% when brushed, +10% when fed. It also goes down fast:
- −18.75% per minute at zero hunger (about 150% per game day)
- −30% for overfeeding
- −1% per mob attack on it
- Set to 0 if it is shaved, or if you attack it
The practical rule: feed before you mount, and dismount before obedience drops under 40%. A beefalo that shrugs its saddle while you are far from camp is a bad afternoon.
Tendencies: decide before the last feed#
Which temperament locks in depends on which points you accumulated longest, and the decision is made at the final feeding. Training afterwards costs 30% domestication (six to seven days) because the only way to reset it is to attack your own beefalo.
The four:
Default — no tendency dominates. Base obedience 80%, base speed 7 (9.8 with the basic saddle), damage 34. It never causes problems and never excels.
Ornery — trains by fighting: +0.004 per attack made or received. Damage jumps to 50 (about a Dark Sword), speed stays 7, but base obedience is only 45% — which means you will have to feed it before mounting, sometimes twice, and it may refuse food entirely while it wants to fight. This is the temperament for players who want a weapon, not a car.
Rider — trains simply by riding: +0.000416 per second while mounted. Base speed 8 (11.2 with the basic saddle), damage 25, obedience 95%. This is the fastest land travel in the game once you add a glossamer saddle, and the easiest temperament to avoid by accident.
Pudgy — trains by keeping hunger high: +0.000416 per second while hunger is above 50%, plus 0.02 for each overfeed (which costs domestication, so it is a bad trade). It is the slowest (6.5 base, 9.1 saddled), the weakest (20 damage), but it gives +6.25 sanity per minute — the same aura as Glommer.
One warning: if you keep the animal near a Salt Lick at high hunger for the whole tame, you will get Pudgy by default. If you want Rider or Ornery, start training early — around 70% domestication is the latest sensible point.
The routine that actually finishes#
- Day 1–2: get a saddle and a brush. Saddle it as soon as obedience allows (feed first).
- Every day: brush once, feed to keep hunger above zero, then ride. Riding and hunger both feed the same domestication rate, so riding is optional in the early days and mandatory later if you want Rider points.
- Every night: park it at the Salt Lick, not in the open. Decay only stops at the lick.
- Ride in safe places. An untamed beefalo bucks you off every 15 seconds at zero domestication; at 20% you get a full minute; the maximum is about 800 seconds. Early on, dismount deliberately instead of being thrown.
- Around 70%: decide the tendency and train only that behaviour.
- At 100%: feed once more to lock it. Then it stops losing hunger, stops going into heat, and stops being a liability.
Feeding without going broke#
Beefalo have 375 hunger and lose 300 per day, so a full tame can cost up to around 640 twigs. The cheap diet:
- Cut Grass and Twigs — 10 hunger and 10 health each, and the cheapest renewable option
- Foliage, Light Bulbs, Petals — raise obedience without feeding domestication (they give no hunger)
- They do not eat meat-based food or generic items like Butter or Ice
Health works differently for beefalo: food gives them four times the health value it would give you. So healing food is much better than salves for keeping one alive.
What kills a tame#
- You attack it — obedience to zero, domestication −30%.
- You shave it — same as attacking. Do not shave a tamed beefalo unless you want to start over.
- Mating season — an in-heat beefalo bucks you off in a third of the normal time and attacks everything nearby. A Beefalo Hat protects you, not your other players or pets.
- Mobs — melee hits land on the beefalo, and its health does not regenerate on its own quickly. Feed it, do not patch it.
What you get for the effort#
A fully tamed beefalo is three things at once: the fastest land travel in the game (Rider + glossamer saddle), a weapon with unlimited durability (Ornery or a war saddle, no weapon wear on melee), and a damage sponge — mounted, it absorbs melee hits that would have gone to you. The Pudgy temperament adds a permanent sanity aura instead.
It is also, unlike most gear, something that can die permanently. Most players lose their first beefalo to a boss fight or a careless ride through the swamp.
Quick answers#
How long does taming take? About 15 in-game days with a brush, 20 without. Around 45 days of total neglect wipes the progress.
Can I leave it alone? Yes, at a Salt Lick — that is the only thing that stops domestication decay.
How do I change its tendency after it is tamed? Attack it. It costs 30% domestication and you re-tame the last stretch.
Why does it refuse the saddle? Obedience is below 40%. Feed it (+10%) and brush it (+40%).
Does it work in winter? Yes, but mating season runs mid-winter and mid-summer — expect the bucking and the aggression, and keep a Beefalo Hat.
If you are still sorting out the survival side, the all-seasons beginner guide covers the first year, and the winter roadmap is the one to read before your first cold season with an animal to feed.
Domestication rates, obedience thresholds, tendency values and hunger figures checked against the Don’t Starve Wiki’s Beefalo page (DST mechanics).



1 comment