I. Core Spring Environmental Hazards & Defensive Prep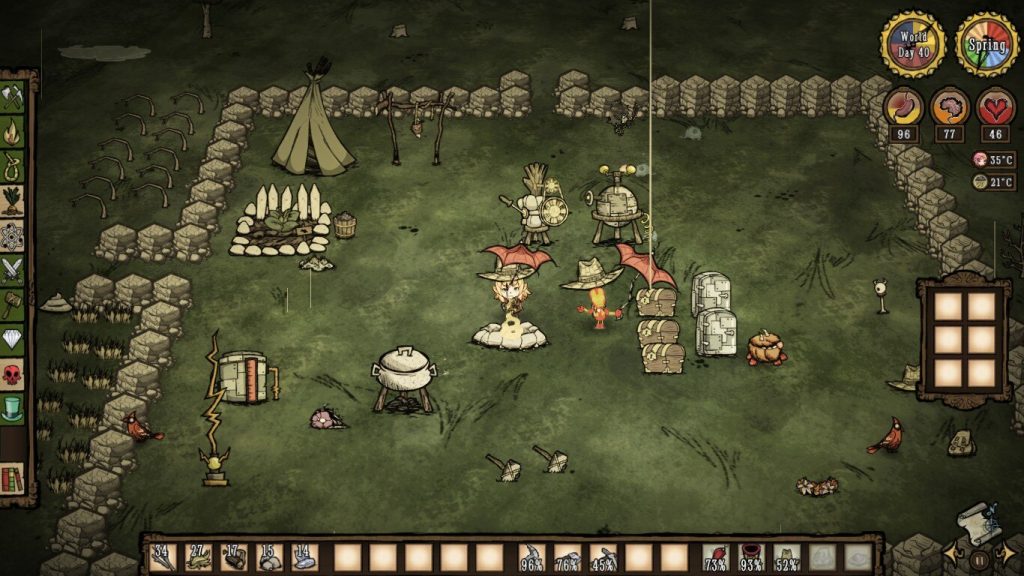
-
Persistent Wetness Mechanics
Rainfall reaches its peak in spring. Extended exposure raises your wetness meter, draining sanity and risking freezing damage. Wet food spoils far faster, torches and campfires burn through fuel twice as quickly, and drying racks cannot cure meat properly.
Solutions: Craft Lightning Rods, Umbrellas and Rain Coats as early as possible. Separate storage zones and farm plots with dedicated Lightning Rods to prevent lightning fires.
-
Frog Rain (Spring Random Threat)
Heavy rains have a chance to trigger Frog Rain, spawning swarms of aggressive frogs that fall from the sky. Never fight them near your base; lure them to an open, structure-free area and wait for the rain to end. Alternatively, use mating Beefalos to automatically slay frogs and farm Frog Legs.
-
Wildlife & Terrain Changes
All Beefalos enter mating season and attack on sight. Berry Bushes, Saplings, Grass Tufts and Mushrooms respawn twice as fast for easy transplanting and resource hoarding. Venus Flytraps spawn randomly across the map; their eyeballs can be crafted into armor and traps.
II. Primary Spring Objective: Systematic Farming for Unlimited Food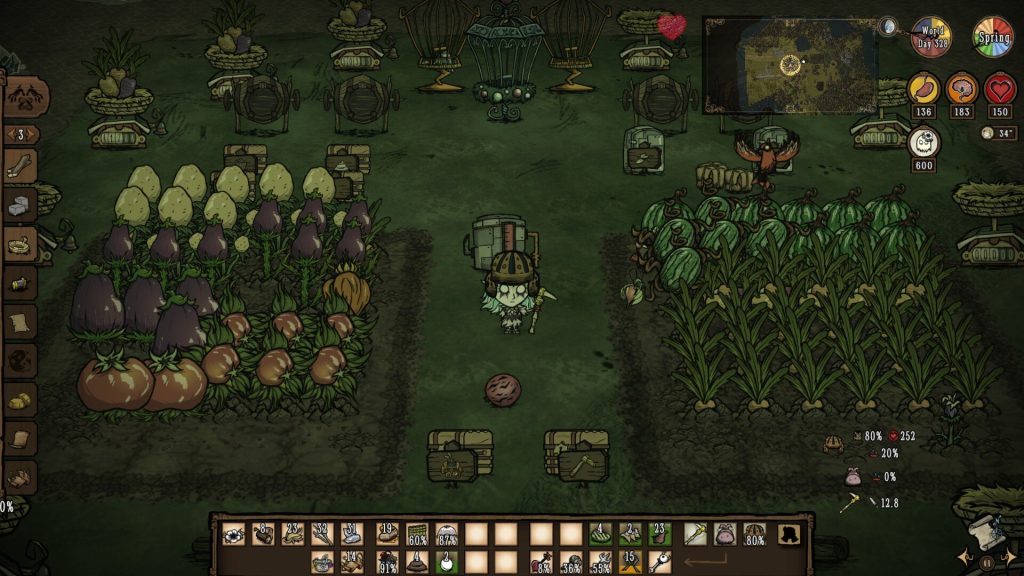
1. Pre-Farming Tools & Infrastructure
2. Seed Gathering & Targeted Breeding
- Potatoes and Tomatoes are spring’s most compatible crops. Their fertilizer needs complement each other, and a 1:1 mixed rotation generates self-sustaining manure and compost without constant dung farming trips.
- Dragon Fruits are mandatory to grow. Cooked Dragonpie, crafted from Dragon Fruit, is the game’s top vegetarian healing dish critical for boss battles later on.
3. High-Yield Giant Crop Layout
- Basic Combo: Mix Potatoes and Tomatoes evenly across farm tiles. Crops auto-socialize in each growth stage, requiring minimal extra watering even in rain; only top up water during clear weather to reliably grow giant crops.
- Dragon Fruit Complement: Interplant Dragon Fruits with Tomatoes to boost overall harvest volume, stockpiling seeds for long-term healing food production.
- Giant Crop Harvest: Smash fully mature giant crops with a Hammer for massive single-time fruit yields. Planting 15+ fully grown crops spawns the Fruit Fly Queen; defeating it drops a friendly Fruit Fly that permanently maintains crop happiness in your farm.
4. Farm Optimization Tips
III. Secondary Spring Tasks: Resource Stockpiling & Base Expansion
-
Mass Wild Plant Transplanting
Take advantage of accelerated natural respawns to dig Grass Tufts, Saplings and Berry Bushes and replant them close to your base. Harvest Reeds and Mushrooms to stock core cooking and alchemy materials. Collect dung to build Compost Bins for endless farm fertilizer.
-
Establish Bee Box Production Chains
Spring blooms fuel Bee Box output. Catch Butterflies and plant flower clusters around hives to maximize Honey yields. Honey crafts into Taffy (sanity restoration) and Honey Ham (hunger + health recovery), two staple foods for spring and summer.
-
Base Defense & Facility Completion
Add full Lightning Rod coverage, extra Drying Racks and Ice Boxes. Lay Cobblestone Paths to boost movement speed inside your base. Decorate base flooring for long-term comfort, and clear nearby Hound Mounds and Spider Dens to avoid mob ambushes while farming.
IV. Exclusive Spring Target: Moose/Goose Boss Fight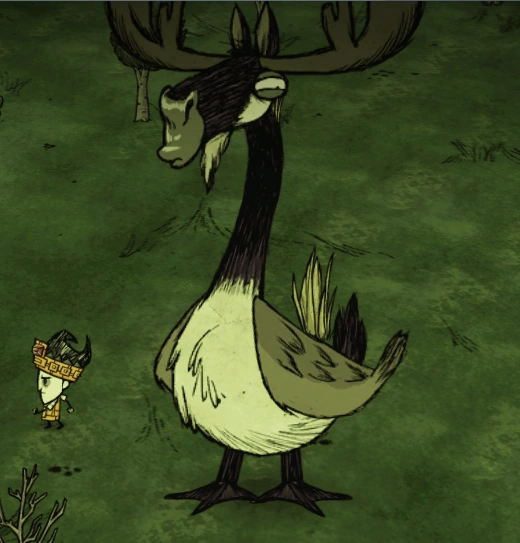
- Loot Rewards: Drops Big Meat and Goose Feathers, which craft the Summer Funnel Vest — essential heat resistance gear for upcoming summer heatwaves.
- Battle Timing: Defeat it during gaps between farm maintenance to secure cooling armor ahead of hot weather.
- Simple Strategy: Wall off a small combat zone to kiting safely, avoiding being swarmed by baby Moslings summoned by the boss.
V. Staged Spring Daily Plan for Beginners
- Days 1–5 (Early Spring: Base Prep)
Prioritize Lightning Rods, rain gear and the Cultivator. Gather seeds and transplant basic vegetation to build the framework of your farm plots.
- Days 6–15 (Mid Spring: Full Farming + Moose/Goose Hunt)
Scale up Potato, Tomato and Dragon Fruit farms, tending crops daily to grow giant produce. Defeat the Moose/Goose to craft heat-resistant armor while building Bee Boxes for Honey stockpiles.
- Days 16–20 (Late Spring: Final Stockpiling & Summer Prep)
Mass-harvest all mature crops and fill Ice Boxes with preserved food. Gather heat-insulating materials, inspect all Lightning Rods, and clear excess Venus Flytraps and hostile mobs to transition smoothly into summer.
VI. Common Spring Pitfalls to Avoid
- Do not dry large batches of meat during rain — wet ingredients rot instantly. Avoid burning wet fuel; it depletes twice as fast as dry fuel.
- Never fight Frog Rain swarms near your base; frogs will destroy farm plots and storage chests.
- Pull weeds immediately — overgrown wild plants drastically lower crop production.
- Do not approach mating Beefalos. If you need Beefalo Wool or dung, feed them from a distance to avoid charging damage.
- Reserve enough Dragon Fruit for cooking healing food instead of feeding all to birds, to guarantee healing supplies for boss fights.