1. Essential Early-Game Priority Buildings
Silo (The First Building You Must Construct)
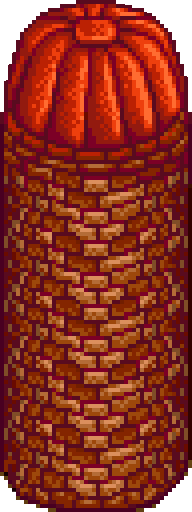
- Size: 3×3 | Cost: 2,000g + 100 Stone + 50 Wood
- Storage capacity: 240 hay per Silo; build multiple if you raise lots of animals
- Core benefit: Always build a Silo before any Coop or Barn. It prevents your animals from going hungry in Winter, which would lower their mood and reduce high-quality product yields.
Well
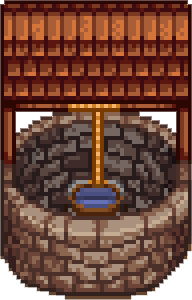
Extremely useful once you expand your farm fields. Place it near crop plots to avoid running all the way back to your farmhouse for water, drastically cutting energy spent watering. You can hold off building it if your farmland is small early on.
Stable (Game-Changing Movement Upgrade)
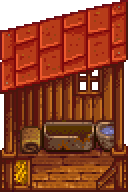
Constructing the Stable unlocks a permanent horse mount that boosts movement speed by 30%. It saves tons of time traveling to town, mines, and foraging spots. Build it as soon as you have spare gold.
2. Livestock Buildings: Coop & Barn Series
Coops (Poultry: Eggs, Rabbit Wool)
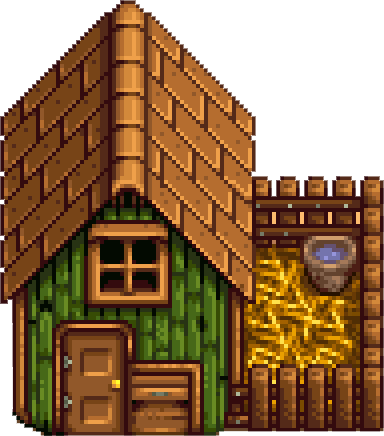
- Basic Coop: 4,000g + 300 Wood + 100 Stone. Holds up to 4 Chickens, which lay eggs to make Mayonnaise.
- Big Coop (Upgrade from Basic): 10,000g. Holds 8 animals, unlocks Ducks, and comes with an Incubator to hatch eggs yourself.
- Deluxe Coop (Upgrade from Big Coop): 20,000g. Holds 12 animals, built-in auto-feeding system. Unlocks Rabbits, Void Chickens, and Golden Chickens. No need to refill hay manually every day.
Barns (Large Livestock: Truffles, Goat Milk, Wool)
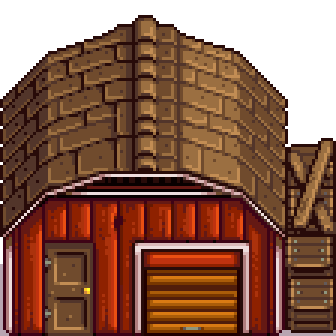
- Basic Barn: 6,000g + 350 Wood + 150 Stone. Holds 4 Cows that produce Milk for Cheese.
- Big Barn (Upgrade from Basic): 12,000g. Holds 8 animals, unlocks Goats, and livestock can breed to produce baby animals.
- Deluxe Barn (Upgrade from Big Barn): 25,000g. Holds 12 animals with auto-feeding. Unlocks Pigs and Sheep. Pigs dig up valuable Truffles on rainy days for massive mid-game profit, while Sheep consistently produce Wool for cloth crafting.
3. Production & Processing Buildings to Multiply Farm Profits
Mill
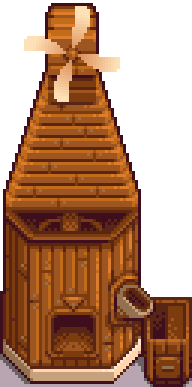
Insert Wheat to make Flour, and Beets to make Sugar. Both ingredients are vital for cooking recipes. Process bulk crops here instead of buying raw materials from shops repeatedly.
Fish Pond
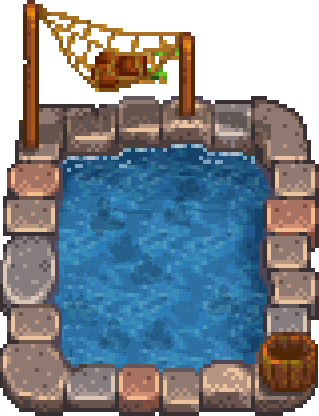
Release any fish inside to generate Roe and extra copies of the fish over time. Later, stock Legendary Fish or Void Salmon for effortless passive income. The pond also spawns Coral and Seaweed to craft extra bait.
Slime Hutch
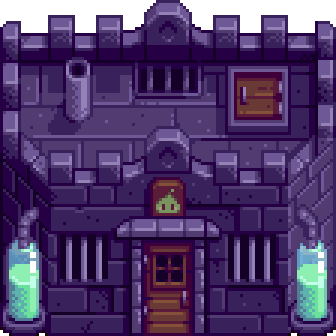
Slimes spawn continuously inside the hut. Slime Gel dropped from slain slimes can craft Sprinklers and Crab Pots, letting you passively farm crafting materials long-term.
4. Farmhouse Upgrades: Unlock Cooking, Marriage & Cellar Aging
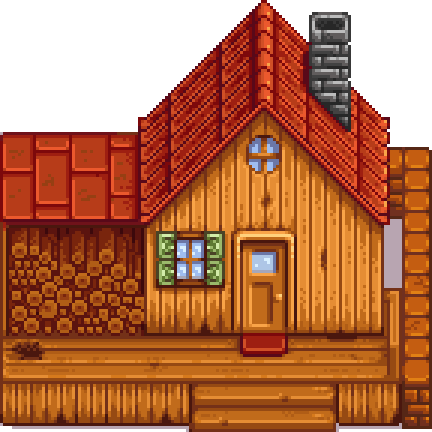
- First Upgrade (10,000g + 450 Wood)
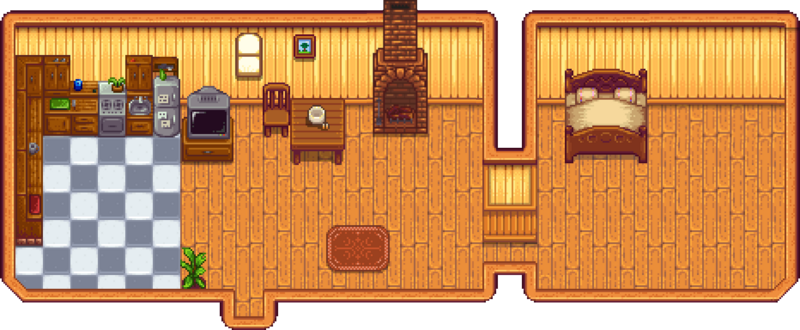
Adds a kitchen and unlocks cooking. This upgrade is mandatory for marriage, so prioritize it mid-First Year.
- Second Upgrade (65,000g + 100 Hardwood)
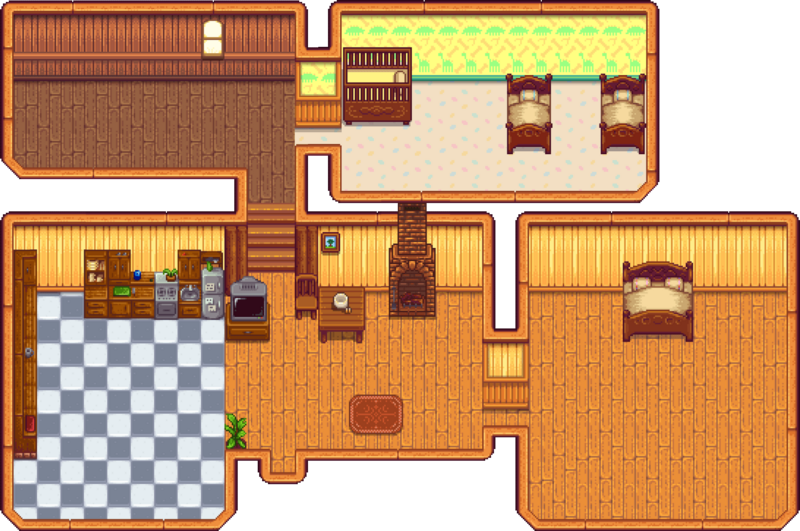
Adds two extra bedrooms and a nursery crib for children after marriage. It also unlocks full house repainting and furniture customization.
- Third Upgrade (100,000g)
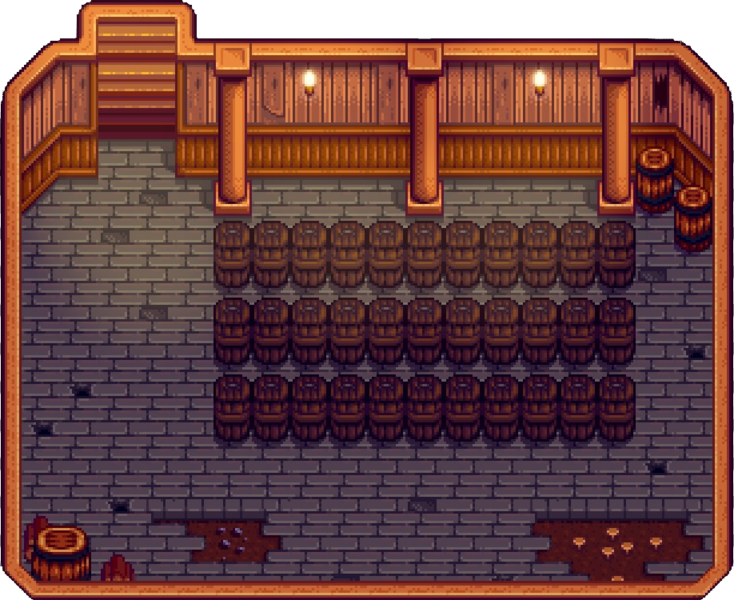
Unlocks a private Cellar. Fill the cellar with Casks to age Wine, Cheese, and Pale Ale for drastically higher selling prices — this is your core late-game profit booster.
5. Endgame Essential Buildings for Full Completion
Greenhouse
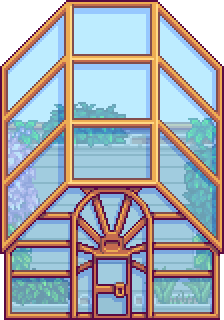
The Greenhouse ignores seasonal cycles and crow attacks, letting you grow crops year-round. Cover the ground with Iridium Sprinklers and Retaining Soil, then plant mass Ancient Fruit for Wine brewing — the most reliable high-income source in the game. Line the outer edges with Fruit Trees to maximize every tile of usable space.
Junimo Hut
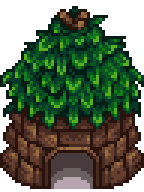
Junimos automatically harvest all mature crops around the hut. Pair it with the Greenhouse or large Cranberry/Strawberry fields for fully automated crop collection, no manual harvesting required.
Ultimate Endgame Luxury Buildings: Golden Clock & Warp Obelisks


- Golden Clock: 1,000,000g. Stops weeds, rocks, and debris from spawning on your farm forever, eliminating all daily farm cleanup work.
- Warp Obelisks (Farm, Mountain, Desert, Ginger Island): Cost large sums of gold and rare ores. Instantly teleport you across the valley, cutting travel time for mining, farming, and exploration to zero in late game.
Recommended Step-by-Step Construction Order for New Players
- Early Spring: Silo → Optional Well
- Spring-Summer Transition: First Farmhouse Upgrade (unlock cooking & marriage)
- Mid-Summer: Stable → Basic Coop
- Profitable Fall Season: Upgrade to Big Coop, build Basic Barn + Mill
- First Winter: Save resources to unlock Greenhouse; gradually upgrade to Deluxe Coop & Deluxe Barn
- Second Year: Junimo Hut, Fish Pond, Slime Hutch
- Late Endgame: Cellar, Warp Obelisks, Golden Clock
Useful Building Tips & Common Mistakes to Avoid
- Robin can relocate any finished building for free. All items and animals inside stay intact — no need to demolish and rebuild if you place it wrong.
- Demolishing a building refunds half its construction materials, perfect for rearranging your farm layout.
- Do not build multiple livestock buildings in Year 1. The high upfront cost and hay storage pressure will break your cash flow.
- Only Deluxe Coops and Deluxe Barns come with auto-feeding. No rush to upgrade if you only raise a small number of animals early on.
- Junimos only harvest ripe crops; they cannot plant seeds or water fields. Always pair them with Sprinklers.
- Unlock the Greenhouse as soon as possible. Its consistent year-round output generates far more gold than any outdoor crop plot, creating a massive profit gap.